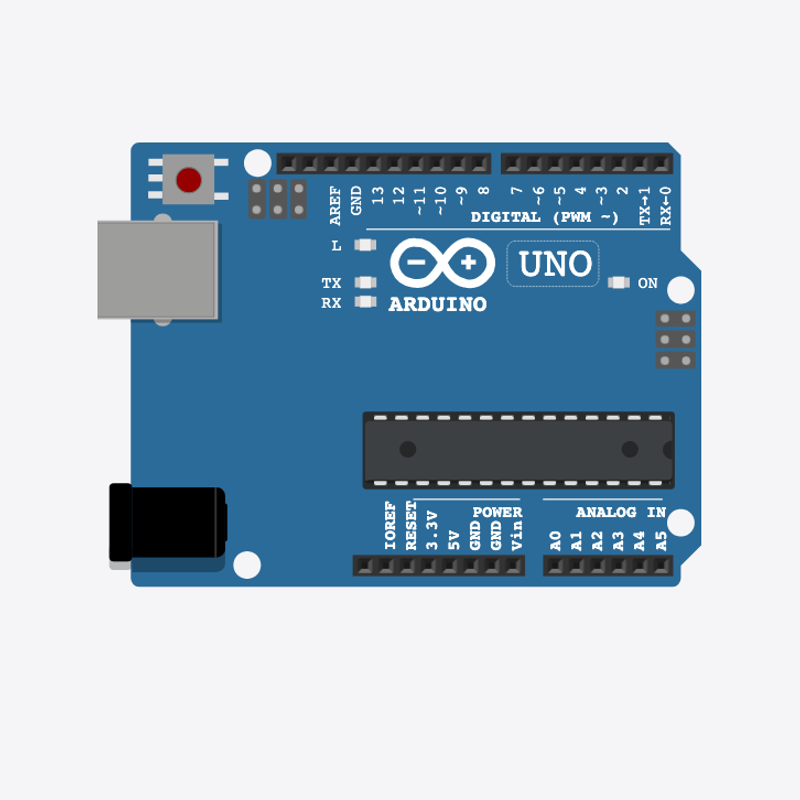
Runs your sketch
Arduino
Brain
Loading part…
arithmetic expressions with variables
Add two int variables and print the sum on Serial.
Variables do math!
numberA and numberB are stored values — sum = numberA + numberB prints the answer.
Every calculator app stores numbers in variables before adding, subtracting, or multiplying.
The problem
You want to change two numbers and see the result update automatically.
Think of it like
Like two labeled jars of marbles — pour them together and count the total.
Runs your sketch
Arduino
Brain
Two input variables
numberA and numberB hold the two numbers you want to add — change them in Code lab.
int numberA = 12;
int numberB = 8;
Compute the sum
sum is a third variable that stores the result of the addition.
sum = numberA + numberB;
Print the equation
Shows 12 + 8 = 20 on Serial, waits 2 seconds, then loop() recalculates.
Serial.print(numberA);
Serial.print(" + ");
Serial.println(sum);
Then loop back to step 1
Follow these steps in order. Match the wires to the colors shown.
Place Arduino
Place the Arduino (uno) on the breadboard.
Arduino placed!
Input variables
int numberA = 12;
int numberB = 8;
int sum = 0;
numberA, numberB, and sum are three int boxes — A and B are inputs, sum holds the answer.
Addition in loop()
  Serial.print(numberA);
  Serial.print(" + ");
  Serial.print(numberB);
  Serial.print(" = ");
  Serial.println(sum);
  delay(2000);
}
Each loop pass recalculates sum and prints the full equation on Serial.
int numberA = 12;
int numberB = 8;
int sum = 0;
void setup() {
  Serial.begin(9600);
  Serial.println("Simple Calculator — change A and B in Code lab");
}
void loop() {
  sum = numberA + numberB;
  Serial.print(numberA);
  Serial.print(" + ");
  Serial.print(numberB);
  Serial.print(" = ");
  Serial.println(sum);
  delay(2000);
}
Q1. What is a variable?
Q2. Why use a sum variable instead of only printing numberA + numberB once?
Try different math — change int numberA = 12 to int numberA = 20.
Hint: Line 1.
Change the second number — set int numberB = 8 to int numberB = 15.
Hint: Line 2.
A line-by-line tour of the sketch — the same steps as in Robo Gurukul Studio.
Program overview
Technical
Sketches have globals, then setup() once, then loop() forever.
In this project
Add two int variables and print the sum on Serial.
Why here
Read from top to bottom. Hover words or lines for help!
int numberA = 12;
int numberB = 8;
int sum = 0;
setup()
Technical
Runs one time when the board turns on.
In this project
Sets up pins and libraries for Simple Calculator.
Why here
One-time setup belongs here—not in loop().
void setup() {
  Serial.begin(9600);
  Serial.println("Simple Calculator — change A and B in Code lab");
}
loop()
Technical
Runs again and again after setup() is done.
In this project
This is the main action you see in Simple Calculator.
Why here
Repeating work (blink, read sensors) goes here.
void loop() {
  sum = numberA + numberB;
  Serial.print(numberA);
  Serial.print(" + ");
  Serial.print(numberB);
  Serial.print(" = ");
  Serial.println(sum);
  delay(2000);
}
Try this: Change numbers in loop(), then compile and run the simulator.
delay
Technical
Waits for some time. Nothing else runs during the wait.
In this project
Controls speed so you can see Simple Calculator in the simulator.
Why here
Right after an action that should stay the same for a moment.
delay(2000);
begin
Technical
Starts talking to the computer screen (serial monitor).
In this project
Lets Simple Calculator print debug messages.
Why here
Goes in setup() once before any Serial.print.
Serial.begin(9600);
Technical
Sends text to the serial monitor without a new line.
In this project
Shows values from Simple Calculator on the screen.
Why here
In loop() or setup() when you want to see what the board is doing.
Serial.print(numberA);
println
Technical
Sends text to the serial monitor and starts a new line.
In this project
Prints one line of output for Simple Calculator.
Why here
In loop() when each reading should appear on its own line.
Serial.println("Simple Calculator — change A and B in Code lab");